Prep:  30 Min.   Cook:  30 Min.  Serves:  6-8

Picture
Quick & Easy Dinner!  This tasted amazing!

Ingredients Used:
  • 2 cups uncooked egg noodles or spiral pasta 
  • 1/2 lb. lean ground beef
  • 1/2 onion, chopped
  • 2 cloves garlic, minced
  • 1 green bell pepper, chopped
  • 1 cup sliced pepperoni sausage
  • 16 ounces pizza sauce
  • 4 tablespoons milk
  • 1 bag shredded mozzarella cheese 
Directions:
  1. Cook noodles according to package directions.
  2. Preheat oven to 350 degrees F (175 degrees C).
  3. In a medium skillet over medium-high heat, brown the ground beef with the onion, garlic and green bell pepper. Drain excess fat. 
  4. Stir in the noodles, pepperoni, pizza sauce and milk, and mix well. Pour this mixture into a 2-quart casserole dish.
  5. Bake at 350 degrees F (175 degrees C) for 20 minutes, top with the cheese, then bake for 5 to 10 more minutes.
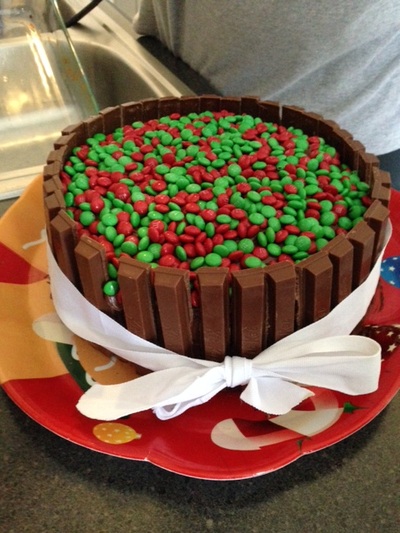
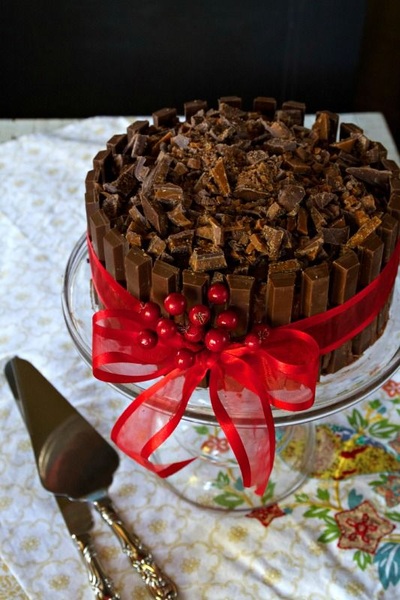
 
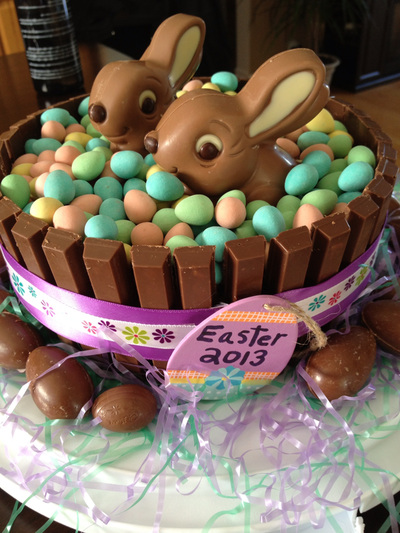
My niece is at it again!  She made this tasty Kit-Kat Cake for Christmas, complete with red & green M&M's!  However, you can switch up the toppings to go with any occasion!

Ingredients & Materials Used:
  • Betty Crocker Cake Mix (your preference of flavor)
  • 2 Containers Icing (your preference of flavor)
  • 1 Bag M&M's (or your preference of topping)
  • 4 King Size Kit Kat Bars
  • 2 Round Cake Pans (disposable or reusable)
  • 1 Serving Platter
  • 1 Ribbon


Directions:
  1. Prepare/bake cake mix according to instructions - splitting batter between 2 round cake pans
  2. Let cakes cool before icing!
  3. Place 1 cake on the platter and ice the top of it.  Place the other cake on top of that and ice the top and sides.
  4. Break apart the Kit-Kat Bars, placing them snug against one another until the entire edge of the cakes are secured (like a fence). 
  5. Place your ribbon around the cake, but not too tight!  This is to hold to the pieces together, but you don't want the candy bars to break.
  6. Place your desired topping (M&M's, etc) on the top of the cake, covering the entire top!


Picture
This great idea is brought to you by one of my talented and creative nieces, Morgan!
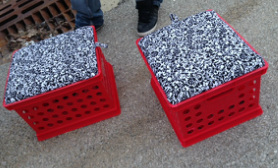
She made this pair of nifty crate storage seats for me for Christmas!
Store your animal toys, craft supplies, or games in these crates, and pull them out for additional seating for a game night with friends!

Materials Used:
  • Plastic Crate (standard size)
  • Sturdy/Thick Wood (cut to fit at your local Lowe's or Home Depot)
  • Fabric of your choice
  • Padding (thickness depends on your preference)
  • Hot Glue
  • Staples (staple gun)

Directions:
  • Start by picking out a sturdy piece of wood, preferably one that will hold a person if you plan to use this as seating.
  • Cut the board to fit the inside of the plastic crate.  There is a lip around the inside of the crate that the board will rest on once cut to fit.
  • One yard of fabric covered both boards for both crates for this project, so depending on how many you are creating, take that into account.
  • Cut your foam piece to fit the board, allowing it to cover the sides as well so they are soft on the edges.
  • Wrap your fabric around the piece of board/foam tightly, stapling in place as you go until the entire piece is completely covered and in-tact.
  • Morgan cut a small piece of fabric and looped it (adhered on the bottom of the board's edge with hot glue) to allow it to be pulled up to lift the board for storage.
  • Voila!  There you have it - 2 functions in one!